
I easily installed the system on my wife’s SUV, Nissan Rogue, without any issues. I mounted the front camera behind the rear-view mirror so it is out of the way and out of sight. The rear camera was installed on the back window using the supplied 3M double sided tape. It ended up coming down after a couple of days so I super glued it to the tape that was still attached to right above the window.
My new truck was about the same for the front window. The only issue with the back is the bed of the truck. I wanted to place the camera above my license plate to get the best view possible. Two issues arose.
The first was the supplied cabling for the rear camera was too short to route from the front camera to the back. Instead of splicing a cable together I ordered their extension cable (https://amzn.to/2BT8zWE). For the attachment to the license plate I decided not to look for solutions and create one.
The Build
First I took the measurements off an old license plate to get the dimensions for the bracket. The first measurement was the distance between each hole to mount the bracket. It measure around 177mm from center point to center point. I used the sketch feature in Fusion 360 to create the profile.

Once i had these dimensions, I could settle on a design for the bracket. I wanted it to be offset to show the entire tag when viewed. So I offset the screw holds from the main bracket. I first made the boxes and use the fillet tool to curve the bottoms. I created a circle in the middle of each box to form the holes for the bracket. From there I made the top of the bracket using the square tool and created a rectangle that was about 12.5mm from the edge of the first two boxes. That made the total length about 234mm. The width was 30mm. Once it was drawn, I deleted the center line to create the offset.

All that was require next was the holes to mount the camera. I measured the bracket for the camera and it came out to be 32mm from center point to center point. So I got the midpoint of the bracket so far and drew a construction line for reference. I then created two circles that were 16mm from each side of the midpoint reference (construction) line.

With that completed the bracket was ready to be extruded into three dimensions to print on the 3D printer. Prior to printing, I came up with an idea of how to secure the camera within the bracket itself with a nut. Once I extruded the sketch, I created a sketch on the top plane of the bracket. This allowed me to create a two dimension sketch to then cut away a pocket for both nuts.

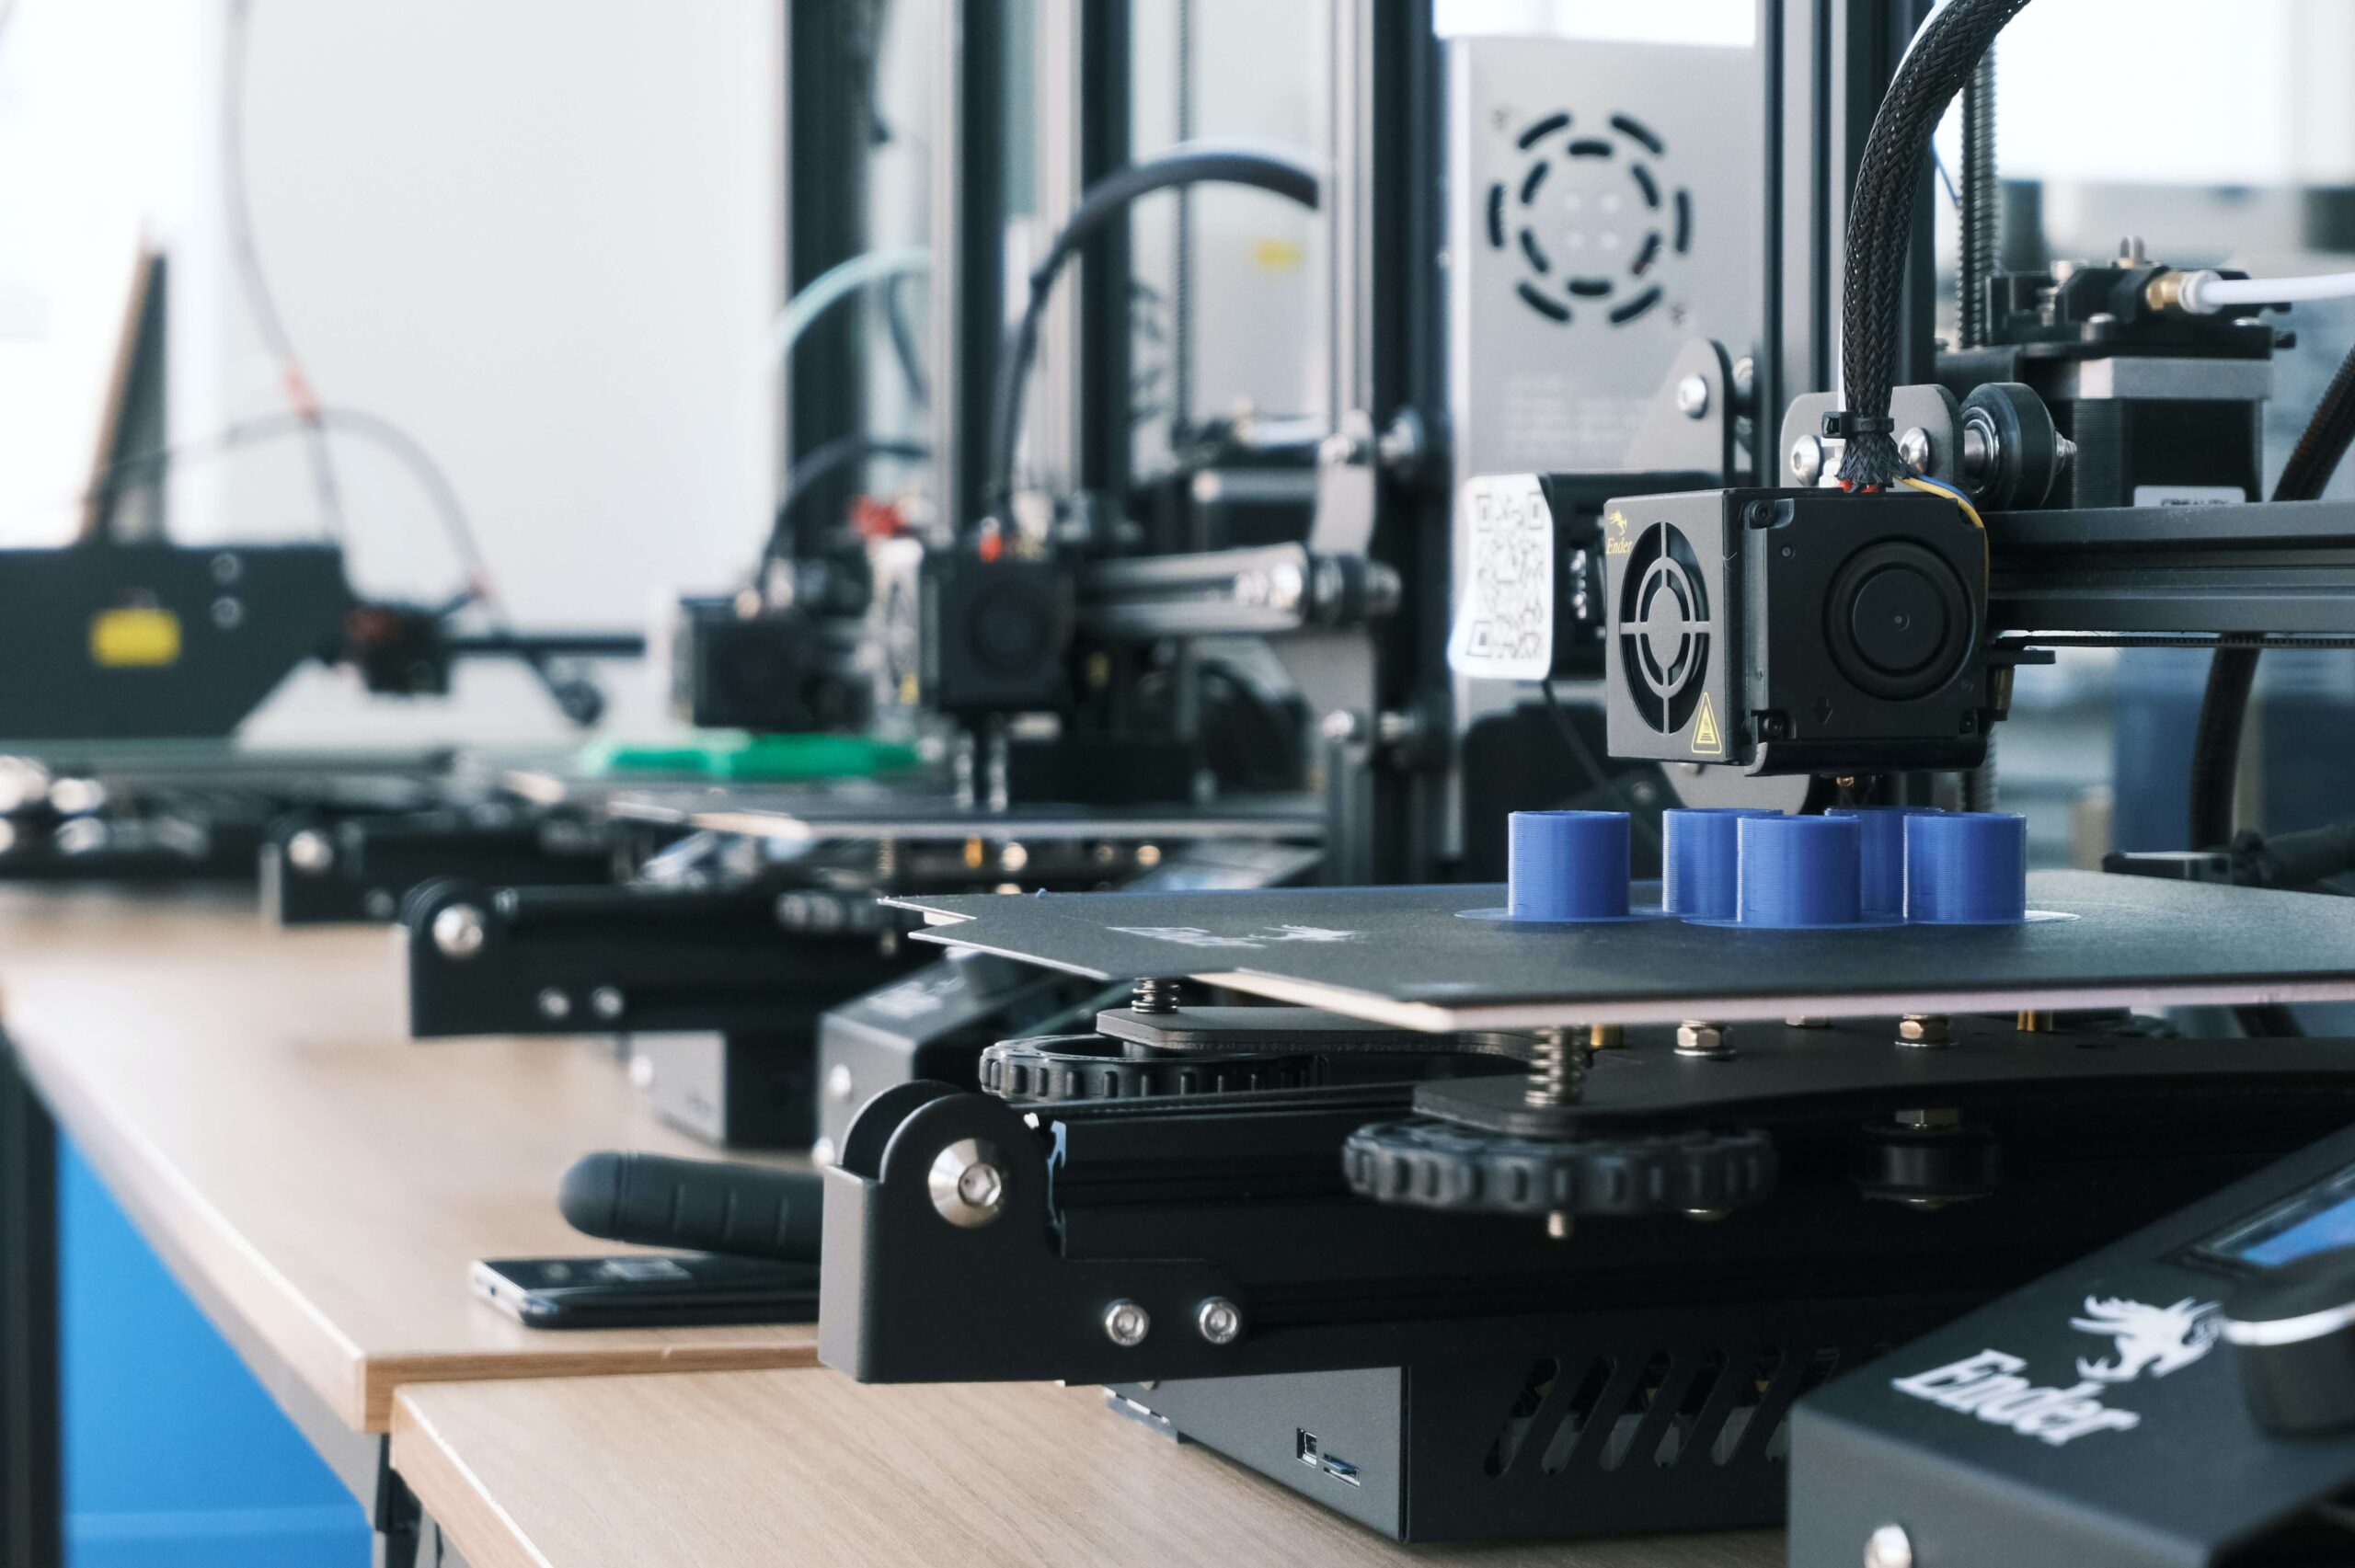
After that it was ready for printing. I used my only 3D printer the Creality Ender 3 (https://amzn.to/2NjEIMy). The setting will be below. Here are some of the pictures of the bracket installed. It worked perfectly. If you have any comments, please leave them below.
Final Product

The final product turned out great. Only time will tell on how long the PLA last in the dry Texas heat.
3D Printer Settings:
- Infill: 20%
- Wall Thickness: 1.2mm
- Printing Temp: 200C
- Build Plate Temp: 60C
- Support: Yes (nut insets)
Materials:
- (2) M3x8 mm Bolt and Nut
- PLA Filament
- 3D Printer
Project Files: